How to Create a KML File
As part of our monitoring and reporting process, accurate geographic data is critical. A KML (Keyhole Markup Language) file allows us to define the exact locations and boundaries of project sites, including forest plots, agroforestry areas, or reforested zones, directly on a map.
With a KML file, we can:
The following step-by-step guide shows you how to create a KML file using Google Earth.
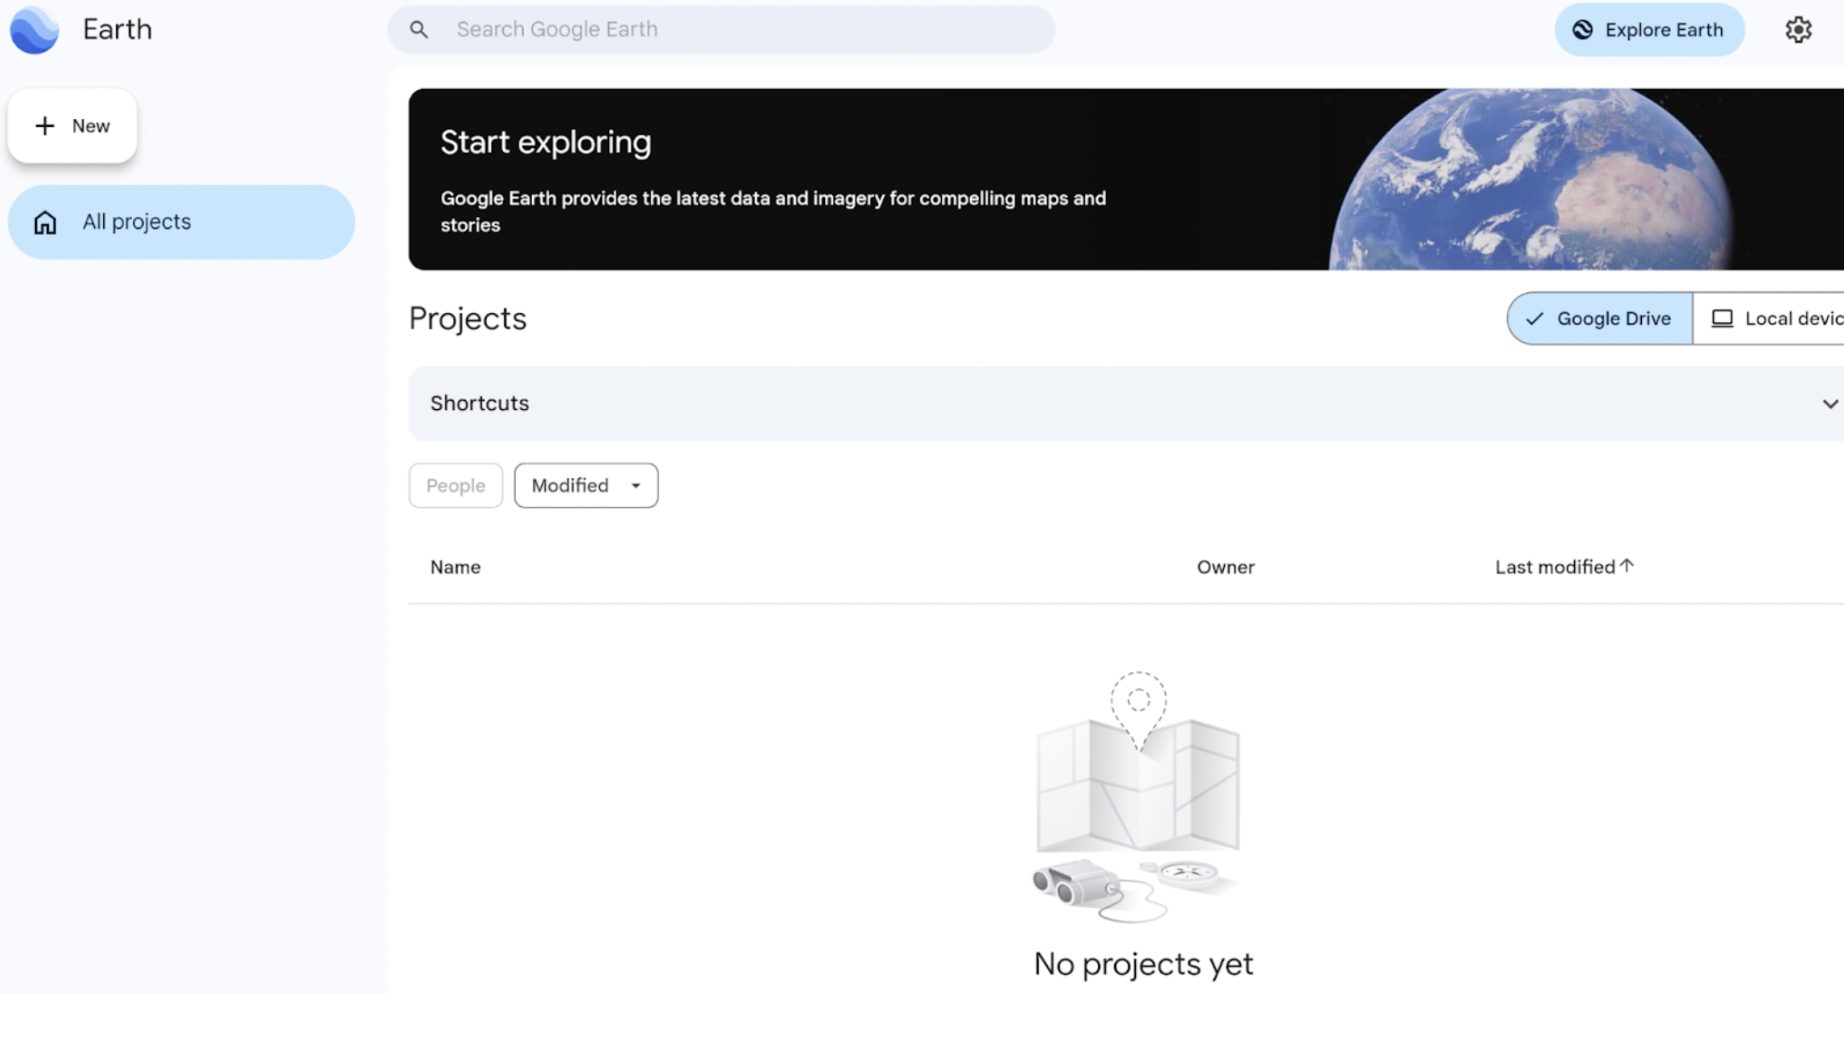
1. Open Google Earth
Go to Google Earth Web (https://earth.google.com/) or open the Google Earth Pro desktop application.
2. Add a Polygon
Create a new project.
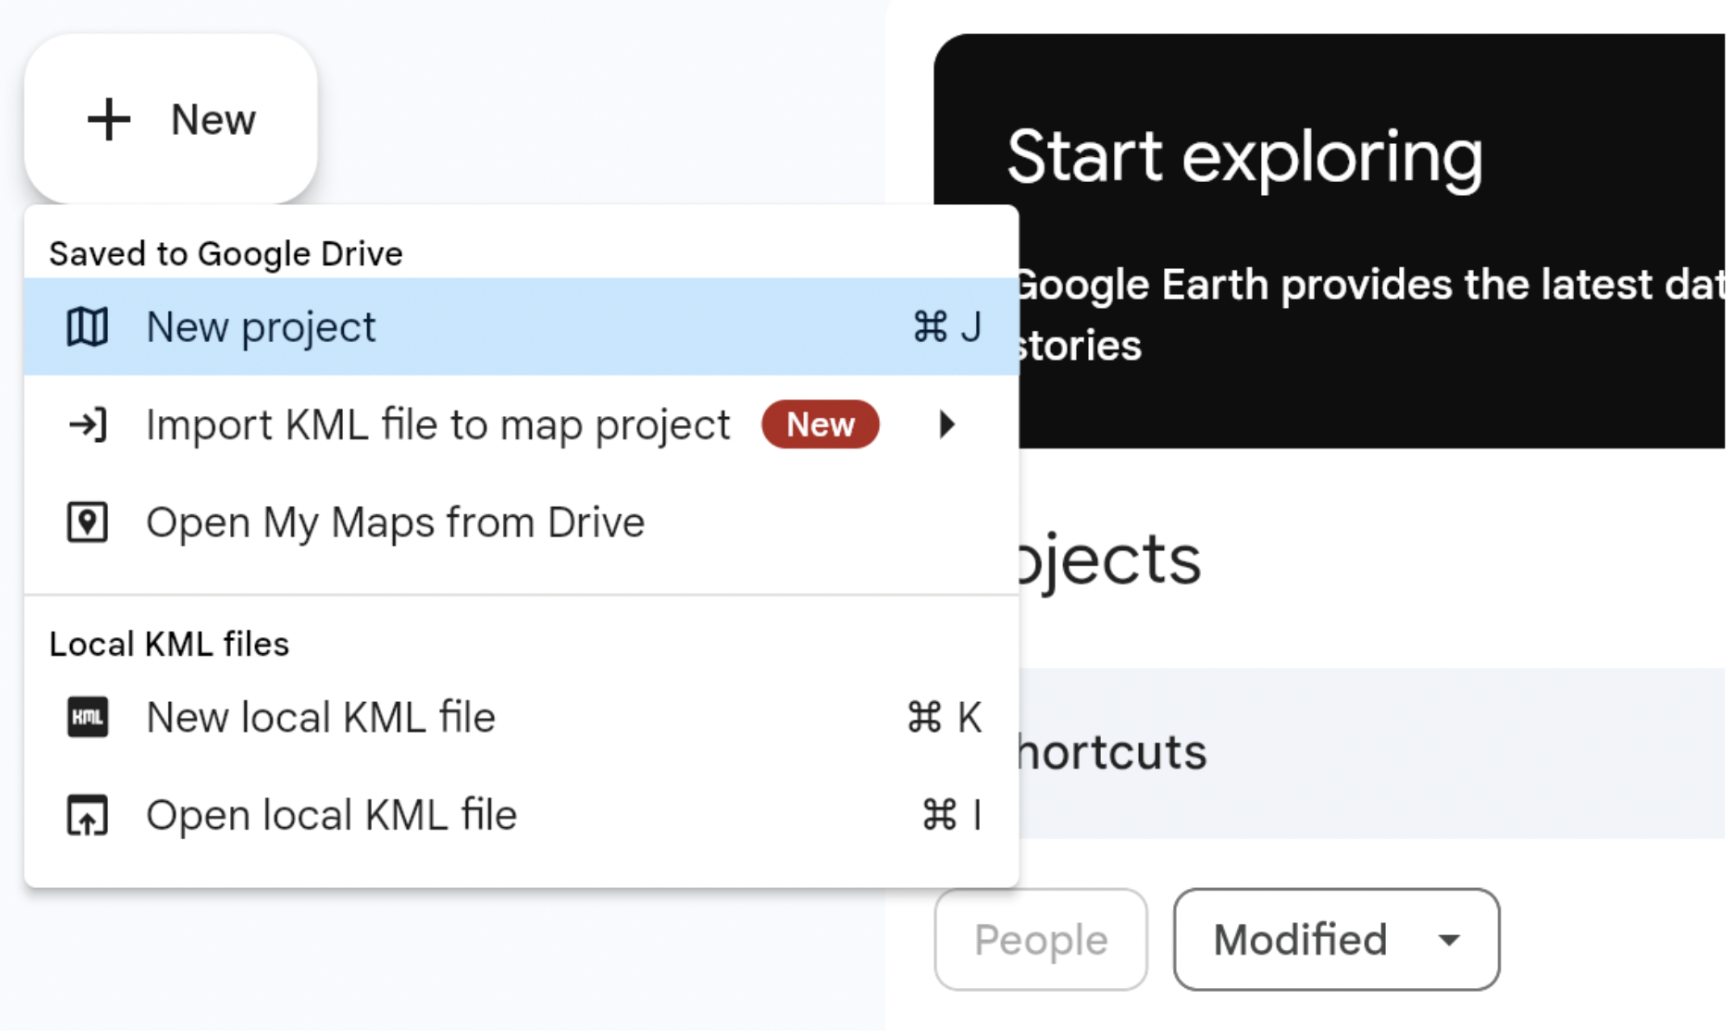
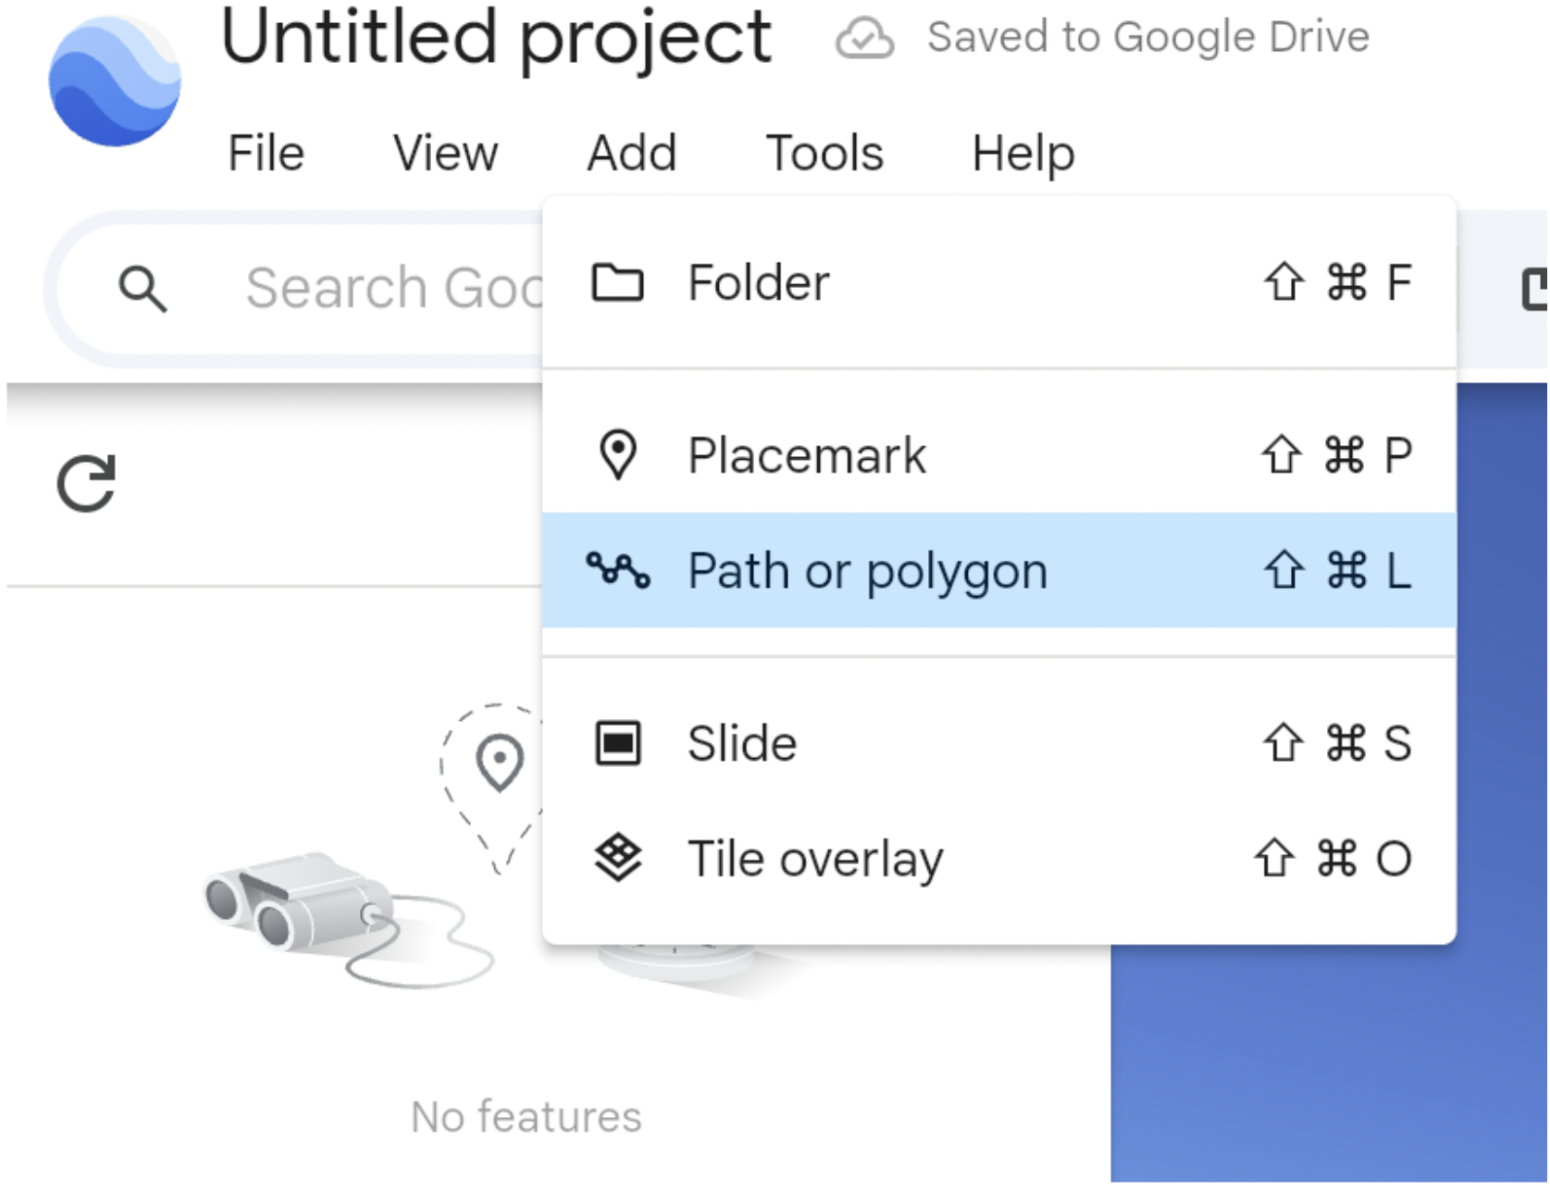
Within this new project click the "Add Polygon" button to create a polygon on the projects' surface.
Use the search bar in Google Earth to enter the name, coordinates, or address of your project location.
Alternatively, you can zoom and scroll around the map manually to navigate to the correct area.
Click around the area to draw your shape.
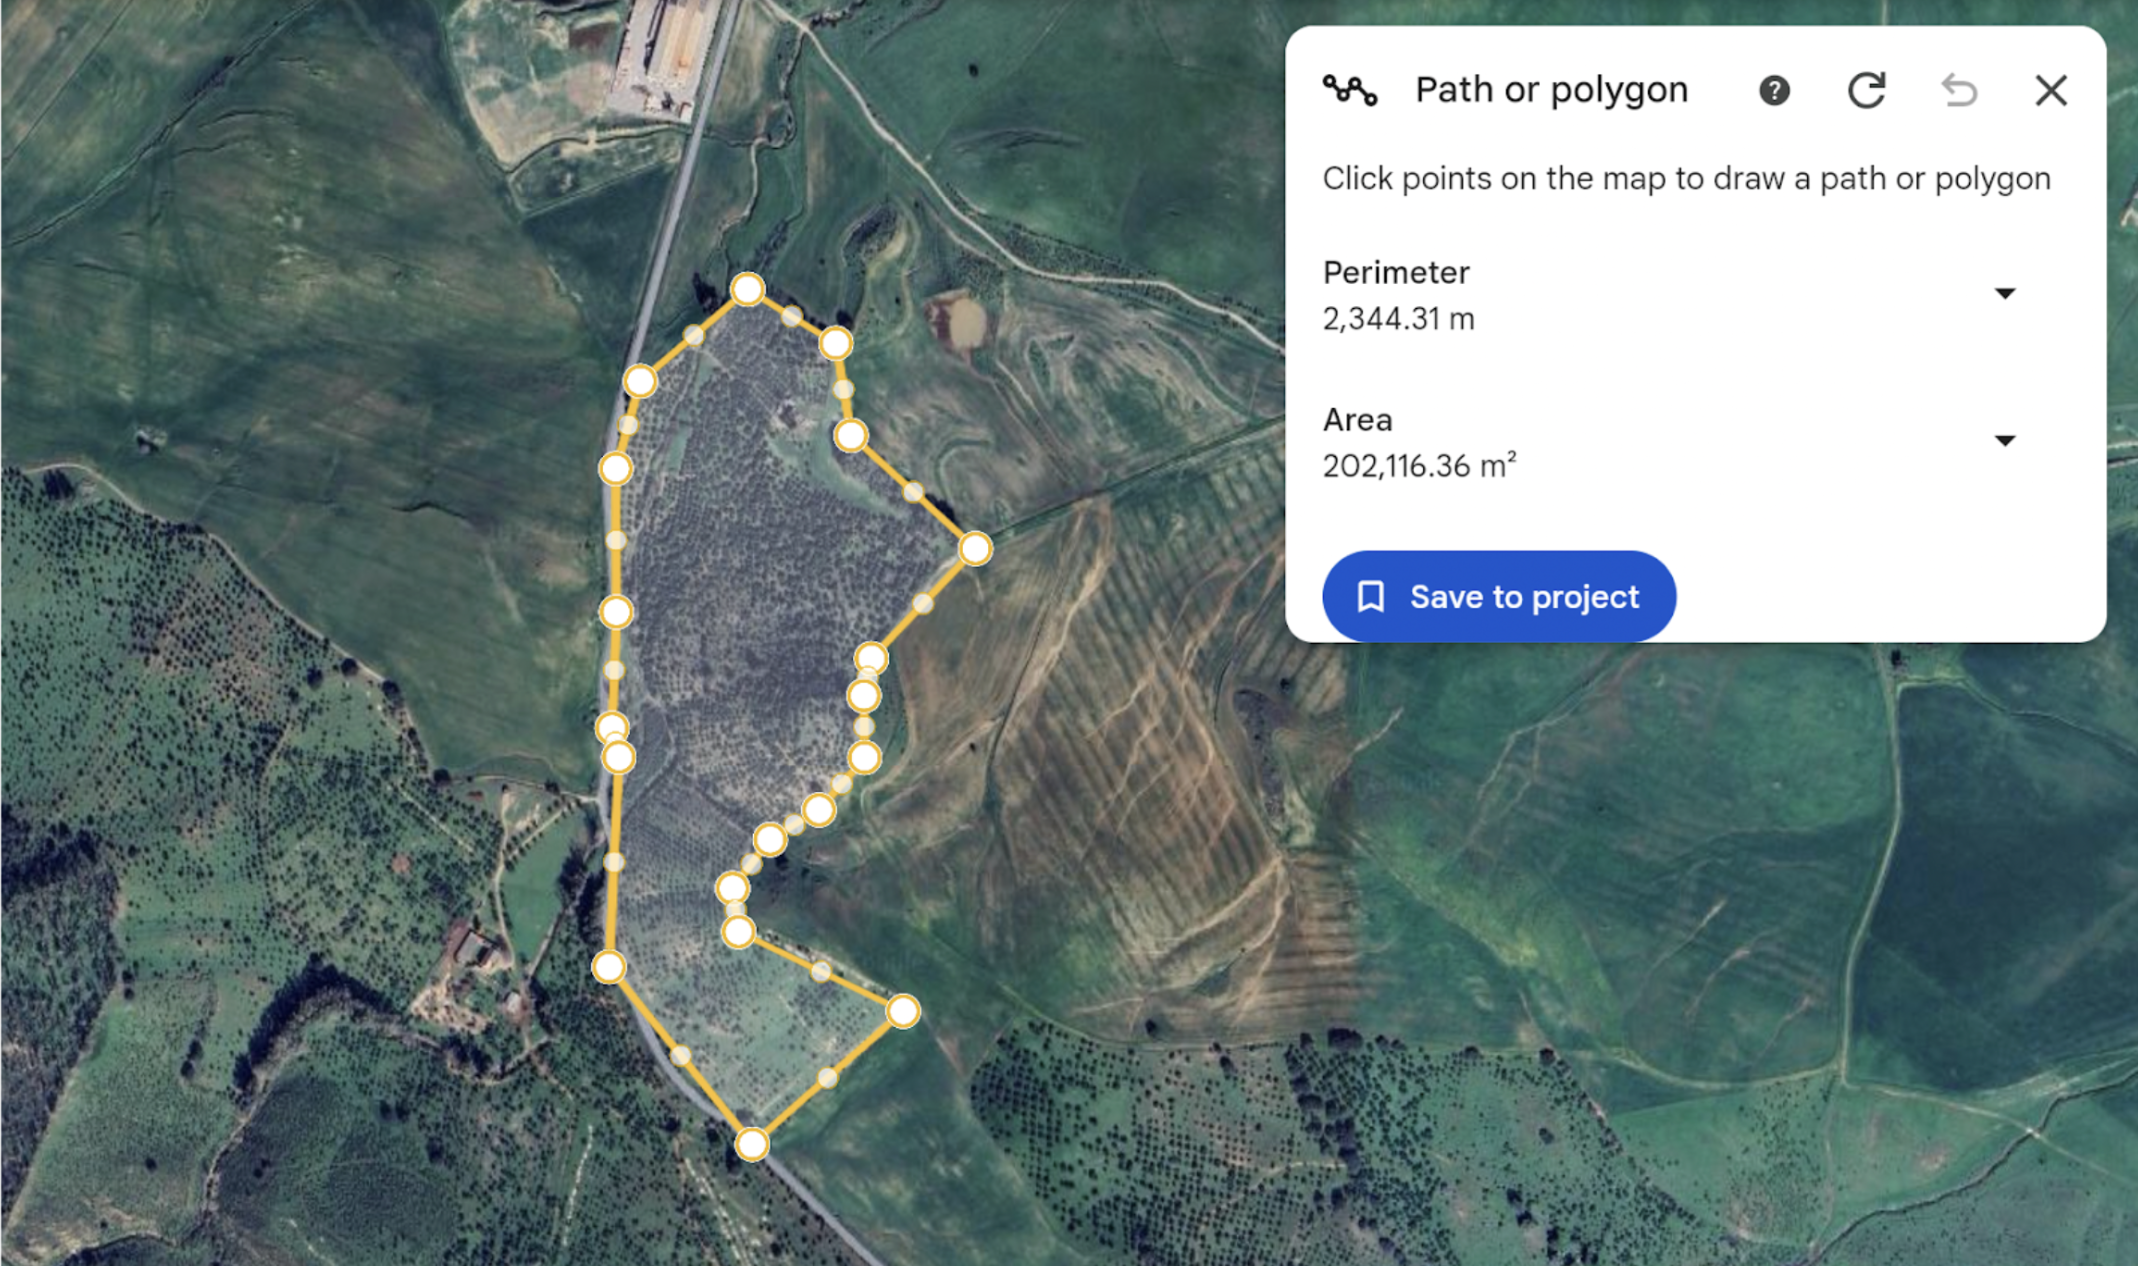
When finished, save it to your project by clicking "Save" or "Done".
Choose your preferred colors, style, and appearance for the polygon or path (e.g., line color, fill color, opacity) and give your project a name (e.g., Green Forest Restoration – Zone 1).
3. Save as KML file
Click on the three dots in the upper-left corner and choose "Export as KML file." The file will be downloaded and can be found in your Downloads folder, ready to be shared with us.

Right-click the item (placemark, path, polygon, or folder) in the "Places" panel.
Choose "Save Place As…"
In the dialog box, follow the following steps:
The file will be downloaded and can be found in your Downloads folder, ready to be shared with us.